Blog
Welcome

Recent posts


loading...


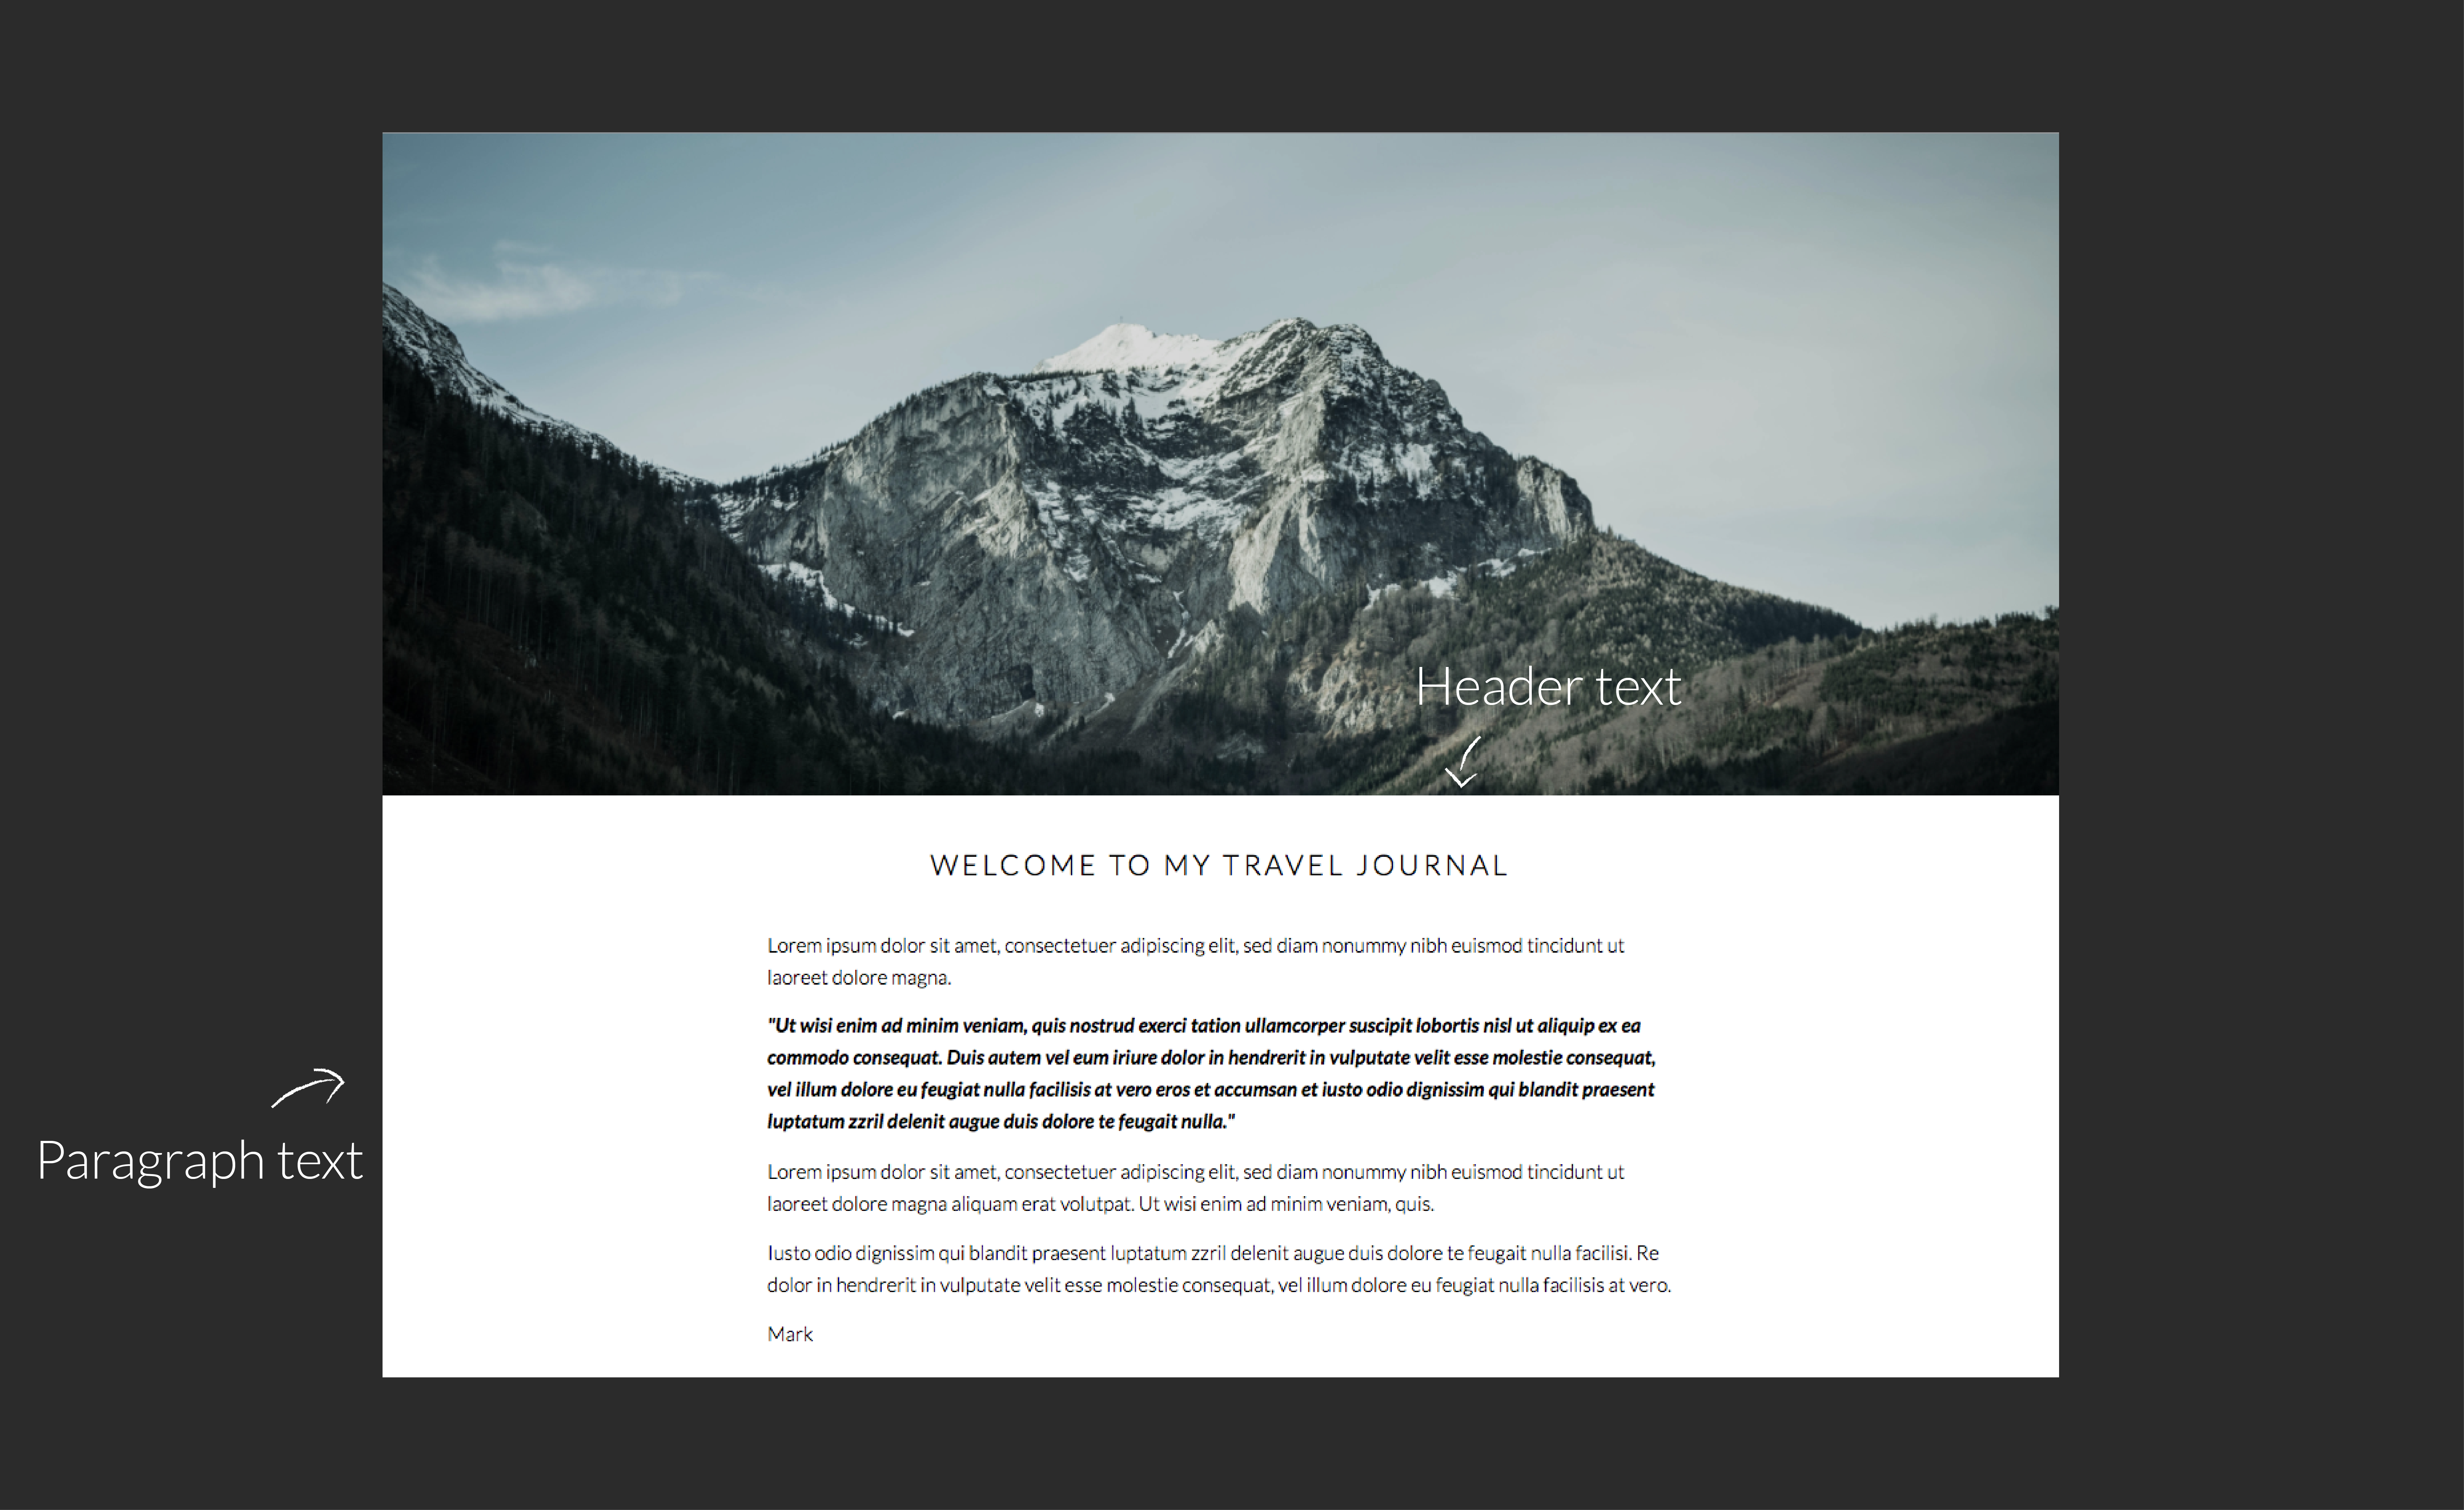
Typography plays an important role in the overall look of websites, so it's no surprise that one of the common things people want to do in Workspace is change fonts. Workspace offers a range that you can select from in the text widgets (as in the graphic) but what if you want something completely different? This tutorial will explain what to do.


loading...


Warning! This will get a bit geeky, so if you're not comfortable coding CSS and HTML, contact us and for a small charge we can arrange to do the work for you. Otherwise get someone else with the necessary experience, as we can't take responsibility for any broken text on your site if you follow this tutorial.
We recommend Google Fonts, for three reasons
First, they're free. You can change fonts at any time at no cost, and with over 800 font families you’ll be spoilt for choice. Second, they're completely browser compatible. Different rendering systems in different browsers, operating systems, and mobile devices can cause font errors and mess up the look of your website, but with Google Fonts you won't have to worry about this. And finally Google Fonts are compressed, so webpages download faster without affecting the font quality.
For a good looking design and fastest loading, I’d recommend no more than three font types on your site. Select your favourite font pairs (fonts that work together, eg as headings and body text) and keep to those. (Follow this link for some great Google Font pairs.)
How to add Google fonts to your Workspace website
Head on over to Google fonts and browse through the library. When you find the font that you like, click on the “plus sign” button in the top right-hand corner. You can add multiple fonts to your collection. In this tutorial, I will be adding Playfair display as my header (h1) and open sans as the body text (p tag)


loading...


loading...


Once the fonts are added to your collection, open the panel at the bottom, to customise the weights and styles you want to add to your website. There is a customise tab, where you can select font-weights, styles and this will automatically update the small bit of code you will need to add to your website.
Now it's time to copy the code from Google Fonts to your Workspace website, this is linking your site to the google fonts website (kind-of!).


loading...


Copy the code in the standard section as highlighted in the screenshot above. You will then need to go to Workspace and click “appearance advanced” under the settings menu in Workspace.


loading...


loading...


Click on the page headers tab, open up the source code and copy the text into there, save that. Then go back to google fonts and copy the style for each font. You will go back to Workspace and add these into the custom CSS. Add the following code (replace with your styling).
h1 {
font-family: 'Playfair Display', serif;
}
p {
font-family: 'Open Sans', sans-serif;
}


loading...


Save the CSS and go to your page to see the changes. If you want to change the fonts for other elements on the site you will need to inspect the site and get the id or class of each element on the site. If you are interested in a tutorial on this comment below and we will do that for you.


loading...


Alexandria x


Email: info@queensberry.com
Free Phone Numbers:
New Zealand: 0800 905 905
Australia: 1800 146 251
USA: +18668350851
UK: 0800 808 5271
Canada: +1 855 581 0370